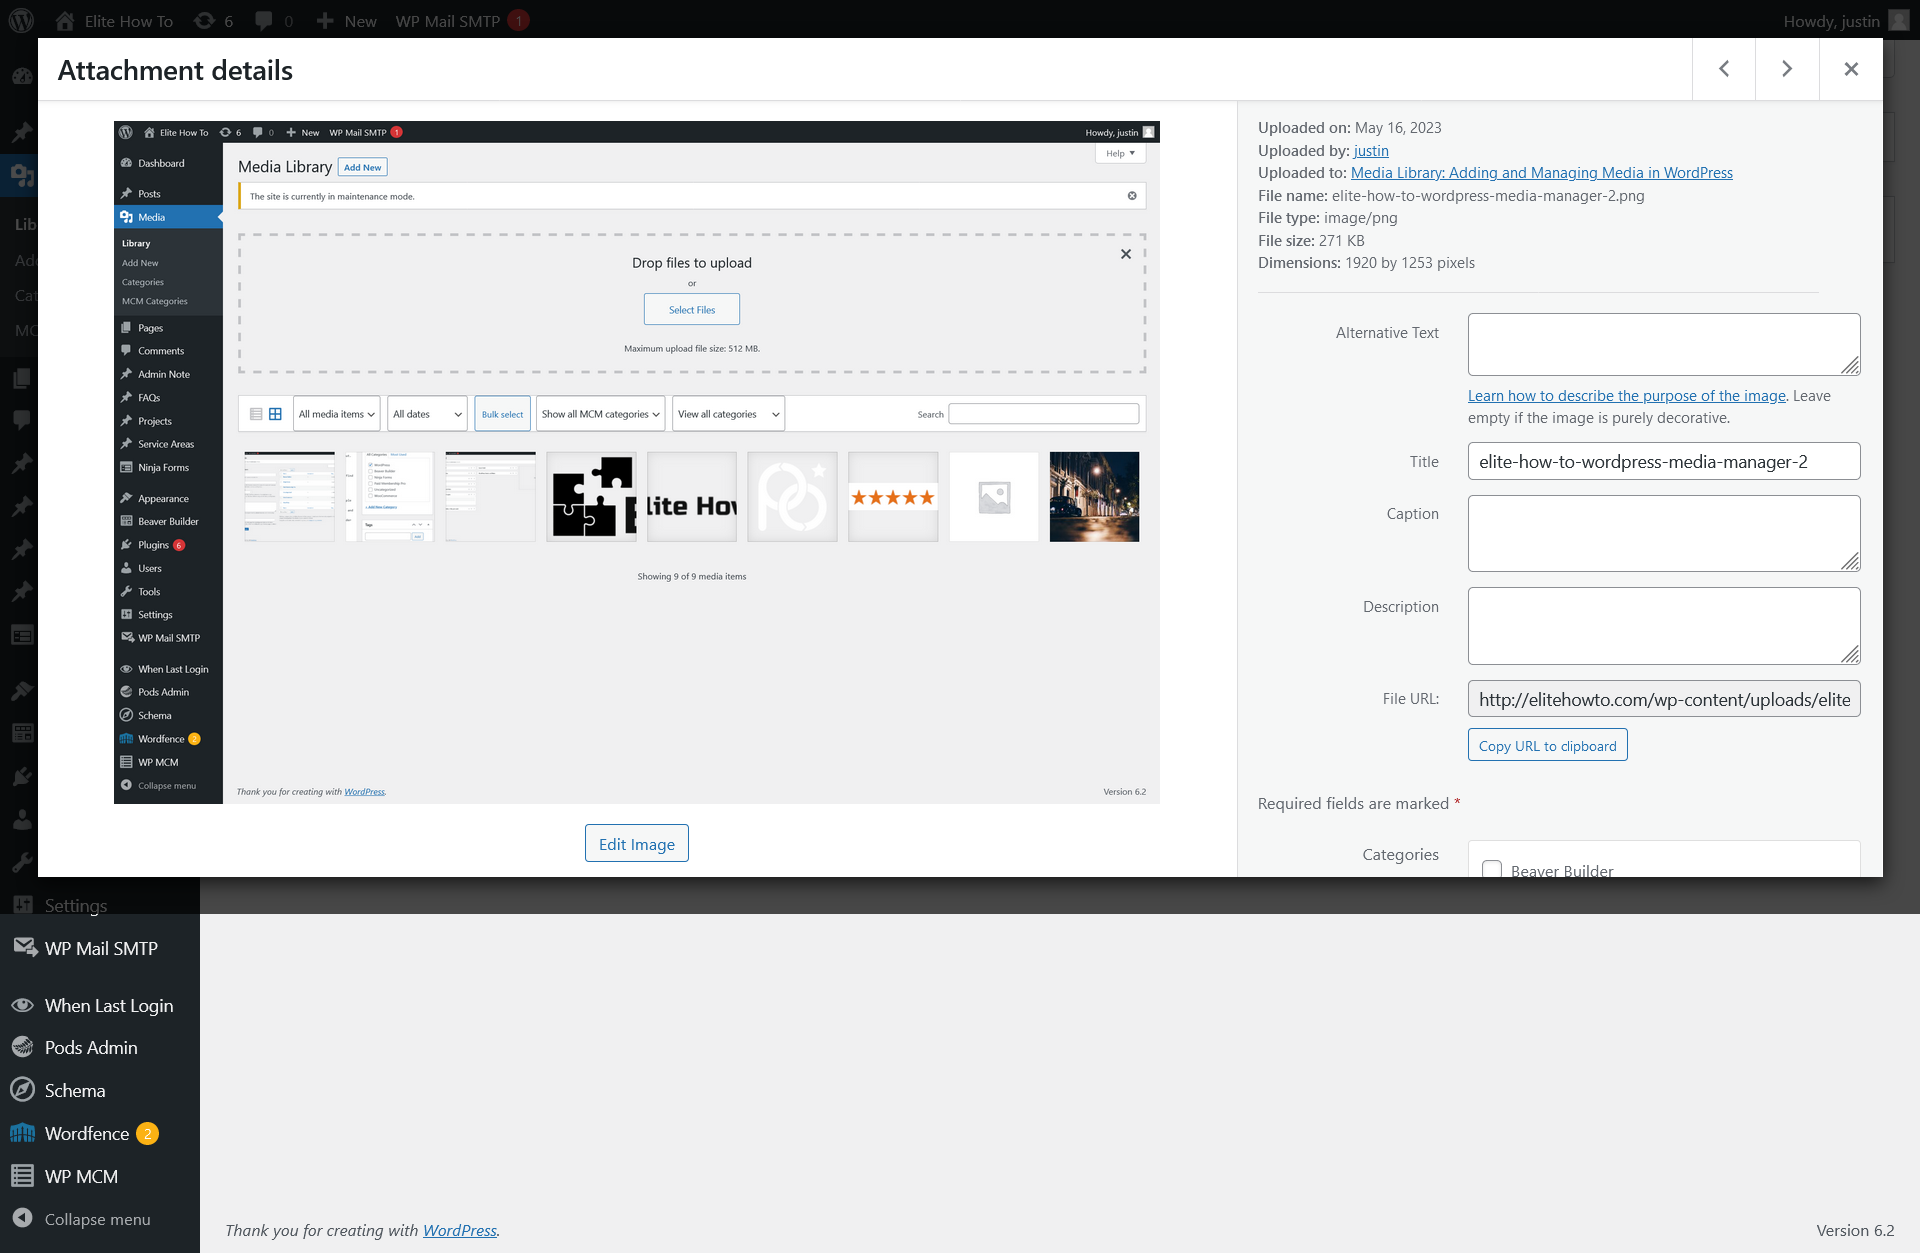
Welcome to our tutorial on how to add and manage media in your WordPress Media Library. This tutorial is designed for beginners, so we'll make everything as simple as possible.
Understanding the Media Library
The Media Library in WordPress is where you can manage your media content like images, audio, videos, and documents. You can upload, edit, and delete media items here.
Adding Media to the Library
Here are the steps to add media to your library:
- Go to your WordPress admin dashboard.
- Click on 'Media' on the left menu. This will open up the Media Library.
- Click on the 'Add New' button at the top of the page.
- Then, you can either drag and drop your files into the box, or click on 'Select Files' to choose a file from your computer.
Managing Media in the Library
Managing media in your library is straightforward:
- Edit: Click on the media item you wish to edit. Here, you can change the title, caption, alt text, and description. Once you're done, click 'Update'.
- Delete: If you want to delete an item, click on it and then click 'Delete Permanently'.


Tips for Managing Media
- Use Descriptive Names: When you upload media files, use names that describe what they are. It'll make it easier to find them later.
- Use Alt Text: Alt text is used by screen readers for visually impaired users and it improves your website's SEO. Always include alt text with your images.
- Keep Your Library Clean: Delete any files that you're not using to keep your Media Library clean and your site running fast.
With these tips and tricks, you're now ready to take full control of your WordPress Media Library. Happy managing!


